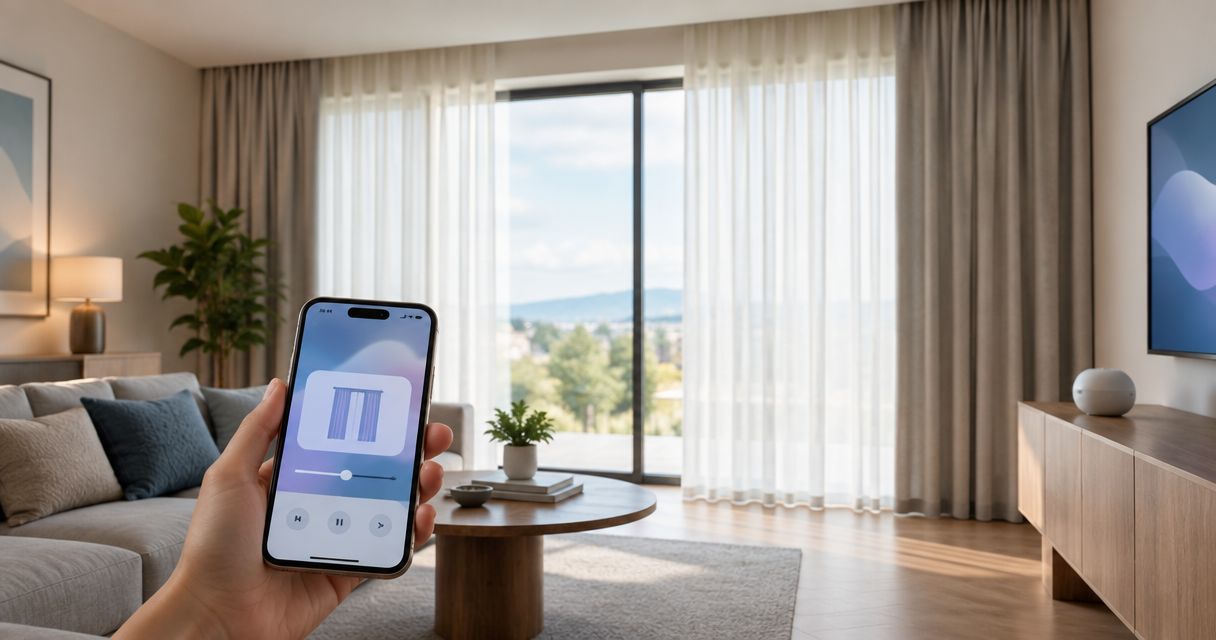
Instead of opening and closing your curtains by hand, connect motorized curtains to Apple HomeKit through a compatible motor or bridge, then use Apple Home for room controls, Siri commands, and scheduled movement. Start by checking the exact motor’s compatibility: a remote control or a Wi-Fi connection alone does not make a curtain work with Apple Home.
- To connect motorized curtains to Apple HomeKit, use confirmed HomeKit compatibility or Matter support for Apple Home.
- Apple Home automations need a home hub; Matter over Thread also needs a compatible Thread border router.
- Calibrate curtain travel before scheduling movement, then test opening, closing, and an intermediate position.
- Curtain-Store serves Riyadh homeowners seeking custom curtains and installation; confirm smart-motor compatibility separately.
Why this matters
Motorized curtains and connected curtains are not the same thing. A motor can move fabric using its own remote while offering no supported connection to Apple Home. Choose the connection route before choosing the motor, rather than trying to solve compatibility after installation.
For a Riyadh bedroom, the useful outcome is simple: close the curtains for privacy and open them when your household is ready. For an office or reception area, the priority is predictable control without taking away staff access to a physical remote.
Curtain-Store suits Riyadh homeowners seeking custom curtains and installation services. Treat fabric, track, and installation decisions separately from the motor’s documented Apple Home support. This 2026 guide explains the connection process without assuming that any particular motor is included in the store’s offering.
Before you start
- Confirm the connection route and keep the pairing code. Find the exact motor or bridge model, its manufacturer instructions, and its HomeKit or Matter setup code. If a bridge is required, confirm that the bridge exposes that specific curtain motor to Apple Home—not just to the manufacturer’s app.
- Prepare Apple Home and the required network equipment. Have an updated iPhone or iPad, permission to add accessories to the home, and access to the relevant network. For scheduled automations and remote access, prepare a supported home hub. Matter over Thread also requires a compatible Thread border router; check the exact HomePod or Apple TV model rather than assuming every model qualifies.
- Finish the physical setup first. Power the motor, check that the track moves freely, and set its travel limits using the manufacturer’s instructions. The non-obvious trap is prior pairing: an accessory already assigned to another home can require removal or an approved reset before you can add it.
Keep the setup code somewhere accessible after installation. If its label will disappear behind a pelmet or inside a ceiling recess, record it before the installer closes that space. Do not publish the code in a project photograph.
Choose your connection route
For a 2026 setup, use the compatibility statement for the exact model—not a general description such as smart curtains or voice control. HomeKit and Matter are connection routes; neither label means that every motor from the same manufacturer supports it.
| Connection route | Best for | Advantage | Limitation or check |
|---|---|---|---|
| Native HomeKit accessory | Apple-focused households with a confirmed compatible motor | Adds through Apple Home using its HomeKit setup code | The exact motor must support HomeKit; a remote-only motor does not qualify |
| Matter curtain accessory | Households wanting a supported standard across compatible platforms | Adds to Apple Home through Matter commissioning | Confirm the curtain device type and transport; Thread models need a compatible border router |
| HomeKit-compatible bridge | Existing motors explicitly supported by that bridge | Connects supported motors through a central accessory | Adds another device to maintain; not every connected motor is exposed to Apple Home |
Use the simplest supported route for your exact motor. A bridge is useful when it supports equipment you already have, but it is not a universal adapter for every curtain remote.
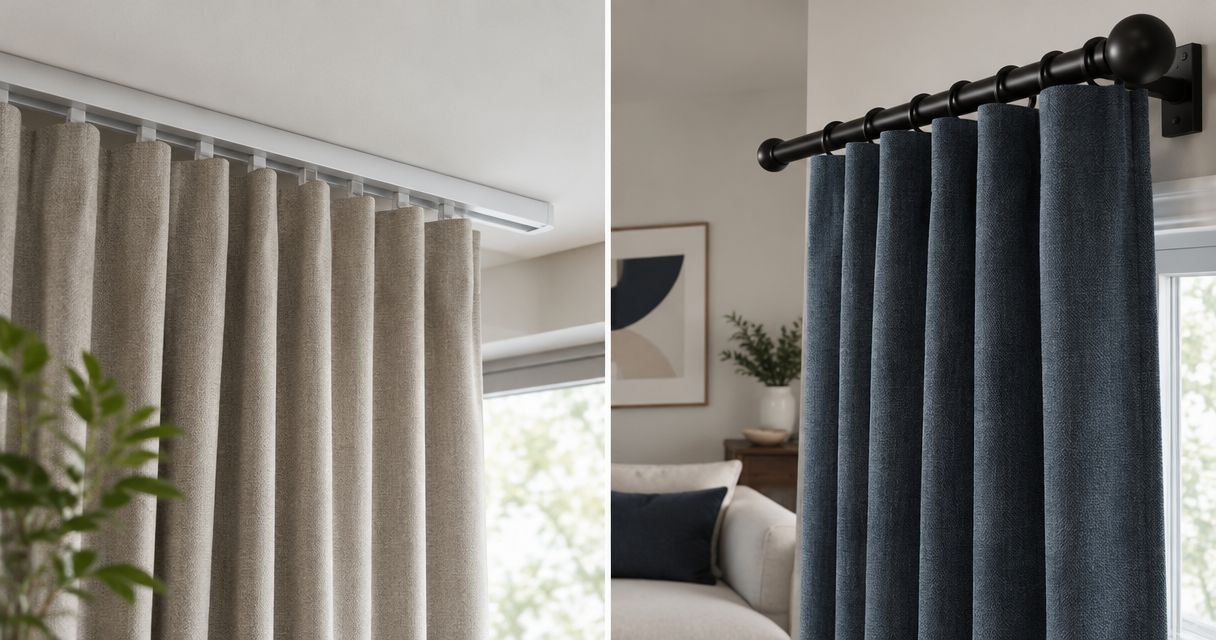
Before selecting hardware, explore the motorized curtains for smart homes guide. Keep your selection focused on documented compatibility, suitable track installation, and practical manual control.
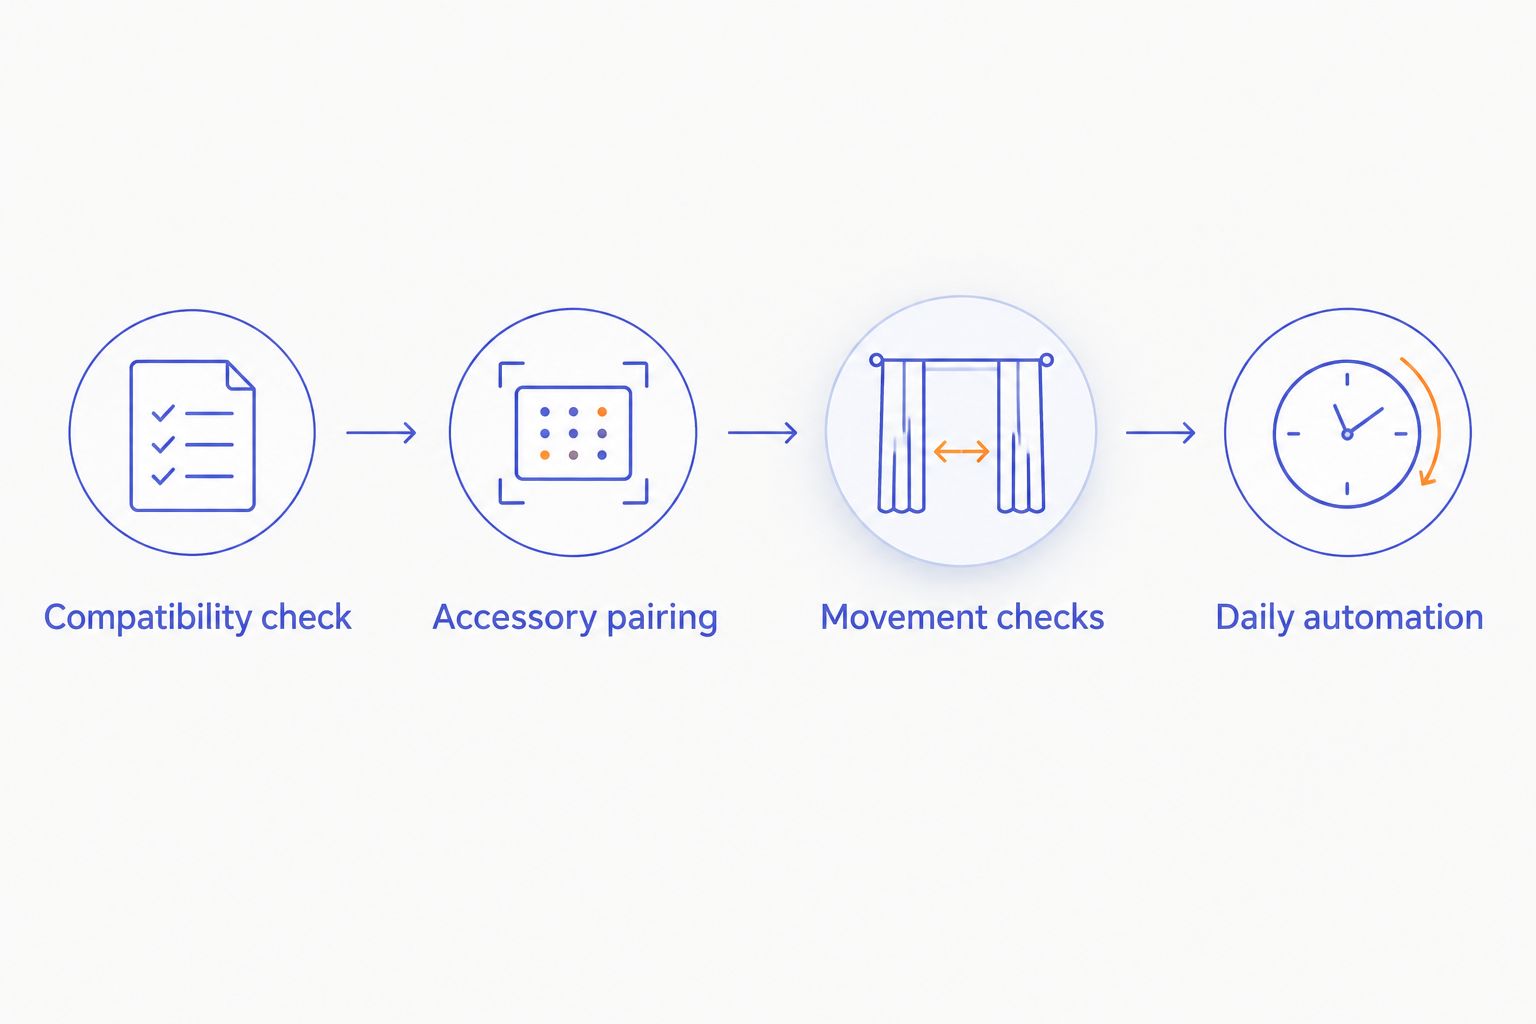
Compatibility check
- Find the manufacturer’s documentation for the exact motor and any required bridge. Look for explicit Apple Home, HomeKit, or Matter support, including any required firmware or accessories.
- Identify whether Apple Home will pair with the motor itself or with a bridge. For a bridge-based system, add and configure the motor in the manufacturer’s system first when its instructions require that sequence.
- Check the connection transport. Follow the manufacturer’s Wi-Fi instructions for Wi-Fi equipment; for Thread equipment, confirm a compatible Thread border router is present.
- Update the accessory or bridge through its documented update process. Keep power connected during an update and follow the manufacturer’s completion instructions.
- Verify that you can operate the curtain using its existing supported control before adding it to Apple Home. Stop here if it jams, reverses unexpectedly, or fails to reach its endpoints.
Expected result: you know which accessory to pair, have its setup code ready, and can move the curtain without relying on Apple Home. This separates mechanical faults from connection faults before troubleshooting gets confusing.
Accessory pairing
- Open Apple’s Home app on your iPhone or iPad. Confirm that you are adding the curtain to the intended home, especially if you manage both a residence and a business location.
- Tap Add, then Add Accessory. Scan the HomeKit or Matter setup code supplied with the accessory, or follow the app’s available pairing method.
- Follow the onscreen prompts. If you are adding a bridge, complete its pairing flow and check which connected curtain accessories appear afterward.
- Assign the curtain to the correct room. Use a distinct name such as Bedroom Curtains or Reception Curtains rather than giving several accessories the same name.
- Finish the setup prompts, then locate the curtain in its assigned room. Test the accessory from its controls in Apple Home before attempting a voice command.
Expected result: the curtain appears in the correct room and responds to a direct command in Apple Home. A bridge appearing successfully is not enough; the curtain accessory itself must also be visible and controllable.
For this 2026 workflow, follow the labels shown on your updated device if a screen’s layout differs. Manufacturer-specific pairing buttons and reset sequences are not interchangeable, so use the instructions for your own model.
Movement checks
- Use Apple Home to request fully open and fully closed positions. Watch the curtain throughout each movement and keep people, furniture, and loose objects clear of the track.
- If the accessory supports position control, test 0% opening, 50% opening, and 100% opening. These are test targets, not accuracy guarantees; confirm what each position physically means on your installation.
- If opening and closing are reversed, correct the direction through the manufacturer’s documented motor settings. Do not hide a reversed motor by giving it a misleading name.
- If the curtain stops short or pulls against an endpoint, recalibrate its travel limits through the manufacturer’s procedure. Repeat the Apple Home tests afterward.
- Test Siri using the room and accessory names you assigned. Try a direct request such as asking Siri to close Bedroom Curtains, then check the physical result.
Expected result: the reported position matches the curtain’s movement, both endpoints work correctly, and a specific voice request controls the intended window.
A percentage is a motor position, not a measurement of privacy or light transmission. At 50% opening, the amount of exposed glass depends on the curtain arrangement, so judge the room as well as the displayed value.
Daily automation
- Confirm that your home hub is connected to the correct home. In Apple Home, open Automation, tap Add, and choose Add Automation.
- Select A Time of Day Occurs. Choose the time or supported sunrise or sunset option that matches your routine, then set the days you want it to run.
- Tap Next, select the curtain accessory, and continue to its action settings. Set the position you want rather than assuming the current position will become the action.
- Use Test This Automation when offered, watch the curtain move, and confirm the intended result. Tap Done to save the automation.
- Check the next actual scheduled event. A successful manual test confirms the action, but observing the scheduled event also checks the trigger and household conditions.
Expected result: the curtain moves to your chosen position when the selected schedule runs. For a business, match the schedule to operating days rather than copying a household routine.
Build your 2026 routine around comfort and privacy first. Start with a single curtain action; add other accessories only after that action works consistently.
Second workflow: curtains that respond to a scene
A schedule handles routine movement; a scene lets you choose the moment. Use a scene when your privacy needs change from day to day, such as closing a living room before guests arrive or preparing a meeting room.
- In Apple Home, tap Add, then Add Scene. Choose Custom and give the scene a clear name, such as Evening Privacy.
- Tap Add Accessories, select the curtain, and tap Done. Set the curtain to the desired position within the scene.
- Include other compatible accessories only if they belong to the same activity. For example, a supported light can join the scene, but it is not required for curtain control.
- Test the scene before saving it. Activate it again from Apple Home to confirm that the curtain goes to the saved position rather than simply reversing its previous movement.
Expected result: selecting the scene applies the saved curtain position whenever you choose. You can also ask Siri to activate the scene using its assigned name.
The trade-off is straightforward: a scene needs someone to activate it unless an automation triggers it. A time-based automation acts without that manual step, but its schedule needs adjustment when your routine changes.
Troubleshooting
Apple Home cannot find the accessory
Check power, pairing mode, and the correct setup code first. Keep the phone near the accessory during pairing, and confirm the required network or Thread equipment. If the accessory belongs to another home, follow the manufacturer’s removal or reset instructions before trying again.
The bridge appears, but the curtains do not
Confirm that the motor is added to the bridge’s own system and explicitly supported for exposure to Apple Home. Update the bridge through its documented process. Pairing a bridge does not prove that every motor connected to it is compatible.
The curtain opens when you request closing
Correct motor direction and travel calibration using the manufacturer’s procedure, then repeat the endpoint tests. Fix the movement before changing automations. An automation cannot correct a motor that interprets its endpoints incorrectly.
Manual control works, but the schedule does not
Check the home hub’s connection, the automation’s enabled state, selected days, and any people-related conditions. Test the automation’s action separately, then observe its next scheduled trigger. This tells you whether the problem is the curtain command or the trigger.
Apple Home shows No Response
Check power to the motor and any bridge, then check the network equipment required by that connection route. If the manufacturer’s app also fails, investigate the motor or bridge connection first. Avoid an immediate factory reset: it creates extra setup work without identifying the cause.
Customize your workflow
Once the basic connection works, expand by room rather than adding every curtain to one command. Separate bedroom privacy, living-room daylight, and reception-area needs. Give each accessory a distinct name, then test room-level commands before using them routinely.
For a custom-curtain project, ask Curtain-Store about fabric, track, and installation requirements, and ask the motor supplier to confirm the exact Apple Home connection route. A clear division of responsibilities prevents a finished curtain installation from becoming an unfinished smart-home setup.
Keep a small handover record for your 2026 installation: motor model, bridge model if used, setup-code location, assigned room, calibration instructions, and the person managing Apple Home access. Call to discuss the curtain project first; use WhatsApp as a secondary channel for project details where provided.
FAQ
Can I connect any motorized curtains to Apple HomeKit?
No. The exact motor must support HomeKit, support a suitable Matter connection to Apple Home, or work through a bridge that explicitly exposes it to Apple Home. A remote control or Wi-Fi label alone is not sufficient.
Do I need a HomePod or Apple TV for motorized curtains?
You need a supported home hub for Apple Home scheduled automations and remote access. Matter over Thread also requires a compatible Thread border router, so check the capabilities of your exact HomePod or Apple TV model.
Can Siri open my curtains halfway?
Yes, if the curtain accessory supports position control in Apple Home. Test an intermediate position after calibration, and check that Siri controls the intended room and curtain.
Is Matter the same as HomeKit for curtains?
No. Matter and HomeKit are different ways for compatible accessories to connect to Apple Home. Check the exact curtain model, required transport, and any bridge requirements before pairing.
Why does Apple Home show my curtain bridge but not my curtains?
The bridge must support exposing the specific motor to Apple Home. Confirm that the motor is configured in the bridge’s system and included in its documented Apple Home compatibility.
Can I schedule curtains to close at sunset in 2026?
Yes, Apple Home supports a sunset time trigger for automations with compatible accessories and a working home hub. Select the curtain position, test the action, and verify the next scheduled event.
Does Curtain-Store provide HomeKit-compatible curtain motors?
Confirm the exact motor offering and Apple Home compatibility directly before ordering. Curtain-Store offers curtains, blinds, fabrics, and installation services, but this guide does not establish compatibility for any particular motor.
One last thing
A curtain can report fully closed while still leaving a privacy gap. Motor calibration checks travel; it does not check fabric overlap, side coverage, or what someone outside can see. After the connection works, inspect the closed curtains with the room lights on and adjust the physical installation if needed.